DIY Disney Shirts!
Hey guys! Happy Sunday! The hubby and I are taking a trip to Disney World and SeaWorld for a week on Saturday! We're so excited to go and the Disney has some awesome discounts for the military and we get to go to SeaWorld for free! How cool is that?!
Being on a budget I knew we wouldn't be able to buy expensive Disney shirts at the park and I love to be crafty so I decided to make my own! I purchased 5 shirts, the fabric, and the materials to make 7 shirts (I had 2 tanks at home) for under $30! That's the price of ONE shirt at Disney.

Here's how you can make your own Disney shirts! It's so easy! You can do it!
What you need:
T-Shirts
Fabric (I got all of mine at Walmart- the thin, regular fabric is great!
Iron
Paper and Pencil
Heat N Bond (see picture below)
( I got 5 yards so I could have plenty for more shirts down the road. The 1 yard package will make 5 shirts easily)
What to do:
1. Find an outline of Mickey Mouse or a princess that you like and print it at different percentages until you find the size you want for your shirt. (or you can do like me and hold up a thin piece of paper or wax paper and trace it from your computer screen.)
2. Cut it out carefully
3. Hold the cut out piece against a sheet of Heat n Bond Ultrahold and trace it onto the smooth side
4. Cut out the shape!
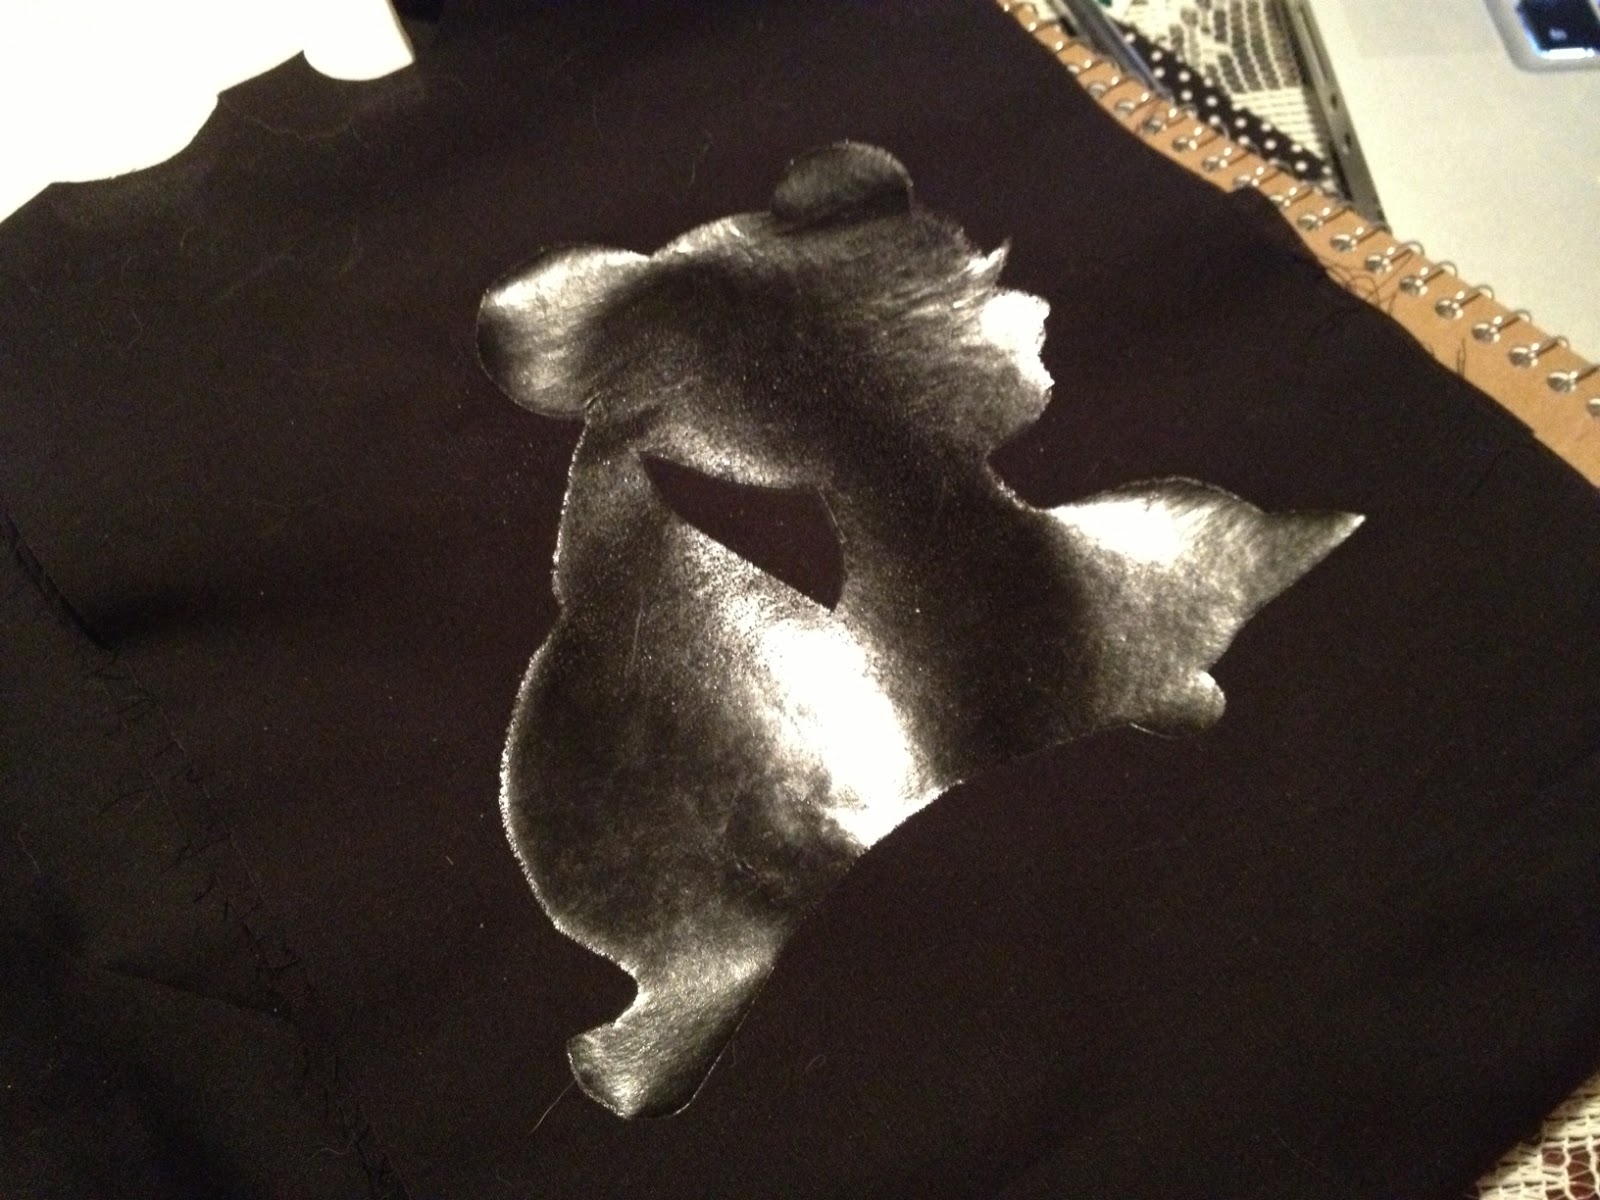
5. Next, lay your fabric on the wrong side up and iron the Heat n Bond shape (iron on the smooth side and place the rough side against the fabric). Press and pick up the iron instead of running the iron all over the shape. Follow the directions on the package.
6. After the shape is has been ironed on, let it cool, then peel the paper off. You'll be left with a shiny shape.
7. Take fabric scissors and cut out your shape.
8. Iron the shape onto the shirt shiny side down and follow the directions on the Heat n Bond package.
9. You're done!! You now have some custom DIY Disney shirts!
An easy and affordable way to make your own Disney shirts. Cute, huh?!